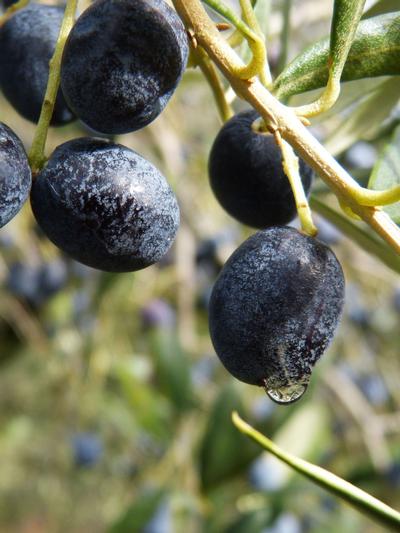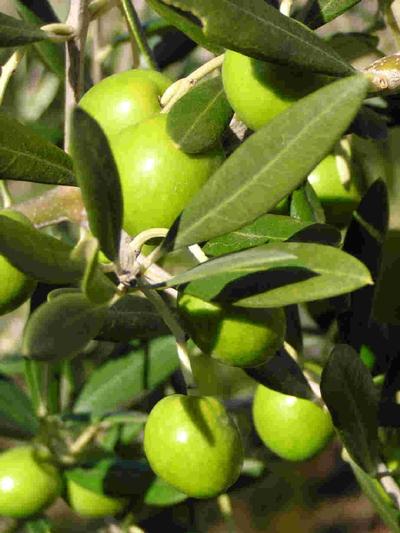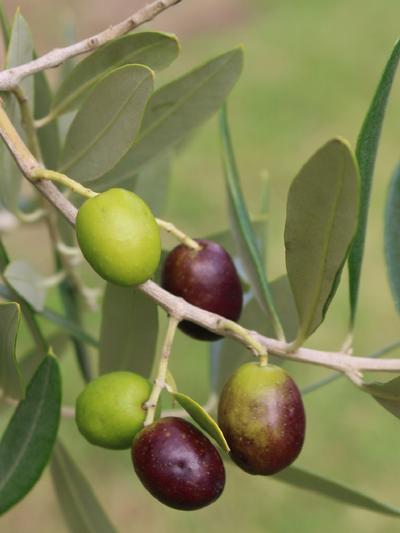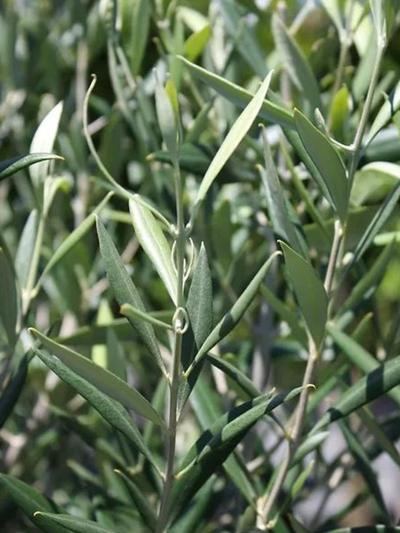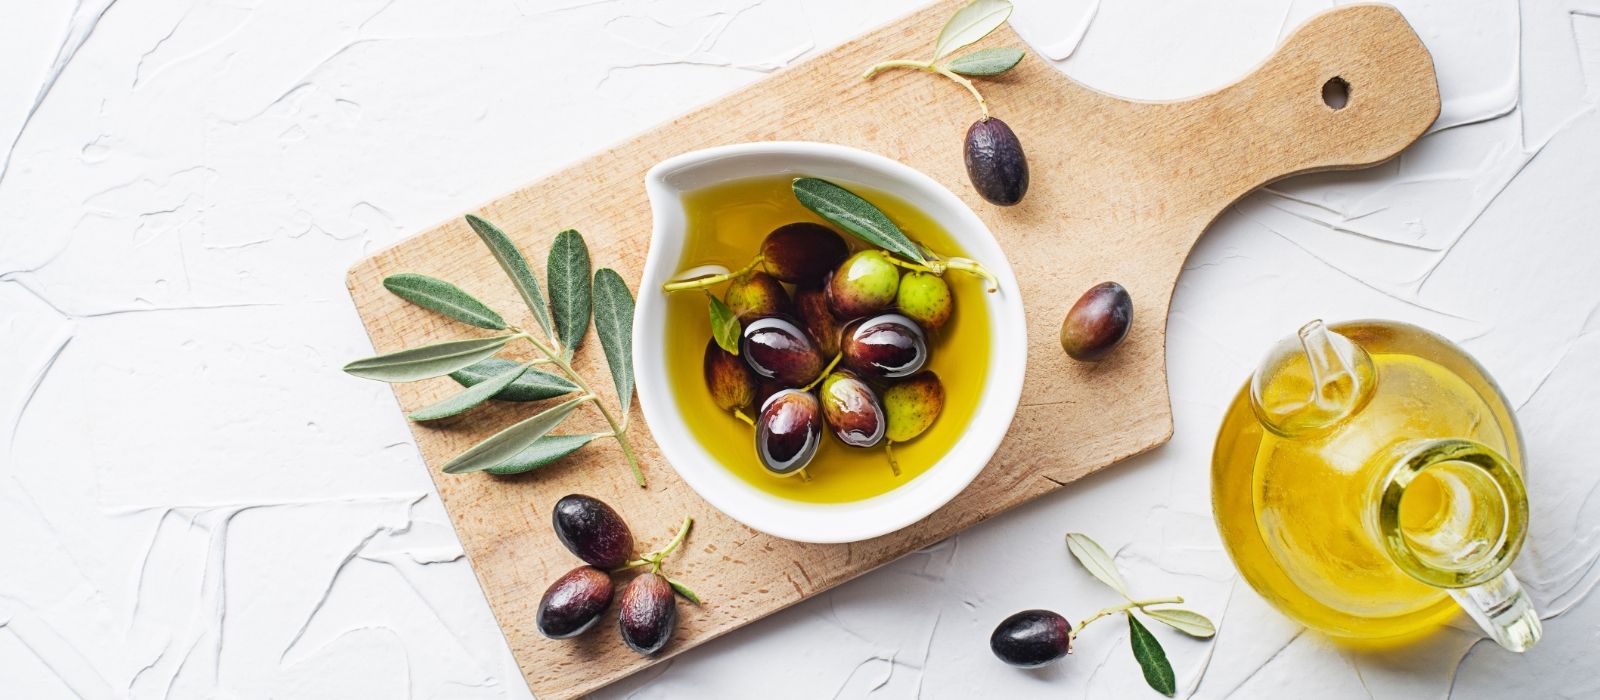
Making your own olive oil is a rewarding and hands-on process that brings the taste of freshly pressed oil right to your kitchen. While it takes some patience, the effort produces a pure, high-quality olive oil that enhances every meal. By following these simple steps—harvesting, crushing, blending, and pressing—you can create an oil that reflects the unique flavours of your olives. Perfect for drizzling over salads, using in cooking, or as a finishing touch on dishes, this homemade olive oil will elevate your culinary creations and provide a sense of satisfaction every time you use it. Enjoy the fruits of your labour.
Making the Most of Your Harvest – Making Olive Oil
Making olive oil at home can be a rewarding but labour-intensive process. While it requires patience and some specialised tools, the result will be a clean, crisp, and high-quality olive oil you can enjoy throughout the year. Here’s how to make your small batch of olive oil.
Ingredients
- 5 kg of fresh olives (green or black)
- 1 cup of hot distilled or filtered water
Yields approximately 500 mL of olive oil.
Tools
- Bowls
- Handheld/immersion blender
- Meat tenderiser
- Cheesecloth
- Strainer
- Syringe
- Storage jar
- Funnel
Method
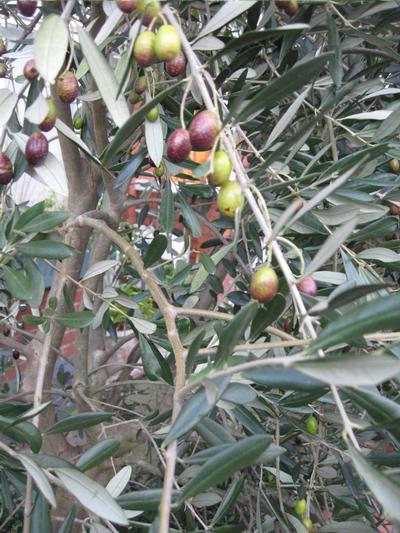
- Harvest the Olives: For the best oil, choose fresh, ripe olives, ideally harvested within the last three days. The riper the olives, the more health benefits and a golden hue the oil will have.
- Prepare the Olives: Rinse your olives and remove leaves or stems. Pat them dry with paper towels and divide them into 3–4 bowls to make crushing easier.
- Crush the Olives: Use the flat side of a clean meat tenderiser to crush the olives. Mash them into a thick, chunky paste. Remove the pits as you work. Some small fragments of pit can remain, but they won’t affect the final product.
- Check Consistency: Once crushed, the paste should have a slightly shiny coating on its surface. This is the start of the oil extraction process.
- Add Hot Water: Transfer one cup of the olive paste to a tall container, add 45 mL of hot water (not boiling), and stir well. The tall sides help to prevent splattering during blending.
- Blend the Paste: Use the immersion blender to blend the paste. After a few minutes, small beads of oil will rise to the surface. Continue blending for an additional 5 minutes. Repeat this step with the rest of the olive paste.
- Separate Oil Beads: After blending, stir the paste with a spoon for a few minutes to help the small beads of oil separate and form larger ones.
- Rest the Paste: Loosely cover the paste with a paper towel or lid and let it rest for 5–10 minutes to allow the oil to separate further.
- Prepare for Draining: Drape a cheesecloth over a large strainer and place it over a clean bowl. Ensure the cheesecloth covers the sides of the strainer.
- Drain the Oil: Spoon the olive paste into the cheesecloth and wrap it up to form a bundle. If your cheesecloth isn’t large enough, you may need to do this in batches. Place a weight on the bundle to help drain the liquid.
- Press and Extract Liquid: Allow the bundle to drain for at least 30 minutes, pressing down on it every 5–10 minutes to help extract the oil. Once the paste is dry and the bowl has a puddle of liquid, you’re ready to siphon the oil.
- Siphon the Oil: Use a syringe to siphon the oil from the collected liquid. Be careful to avoid sucking up water or juice; you want to extract only the oil. If the liquid is separated into layers, expel any water and collect only the top oil layer.
- Store the Olive Oil: Use a funnel to pour the freshly extracted olive oil into a clean storage jar. Seal the jar and store it in a cool, dark place until you can use it.
Enjoy your homemade olive oil in salads, cooking, or as a delicious finishing touch on dishes. If stored properly, the oil should stay fresh for up to a year.


